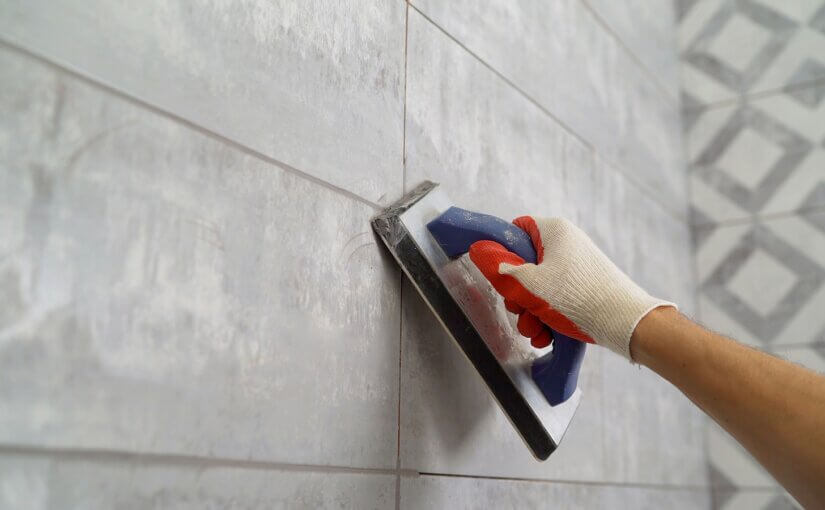
You can transform your kitchen or bathroom using grout, whether you’re retiling a wall or refreshing old grout.
Grout’s job is to fill gaps and prevent tiles from moving around on the wall, but it also acts as a protective barrier against dirt, moisture, and other damaging elements.
If your tiles show signs of ageing, consider retiling. Alternatively, regrouting provides a fresh look when tiles don’t need replacing but the grout is permanently stained.
Let’s dive into how you complete the final and most crucial stage in any tiling project. Follow our six simple grouting steps that apply to the fresh application of tiles or a straightforward re-grout to revitalise your existing tiles.
Before you start
If planning a full kitchen or bathroom makeover, consider hiring a skip for all your renovation waste. A skip provides the perfect solution for effortless waste disposal and can help maintain a tidy workspace.
Tools you’ll need
Grouting can get messy, so you must have the correct tools before you begin. The necessary tools include:
- Tile grout — Select a grout suitable for the area you’re grouting.
- Grout float — This tool’s flat design effectively presses the grout into the tile joints.
- Grout sponge — Perfect for wiping away excess grout.
- Bucket — Vital for storing and mixing the grout.
- Cleaning cloth — Another tool for removing excess grout or residue.
- Grout finisher — A tool that guarantees a uniform finish.
Have you got everything on this checklist? You’re ready for your grout transformation.
Step one: Preparation
Surface preparation is essential to provide a smooth application process and perfect results.
If you’re regrouting existing tiles, removing the old grout is very simple — use a grout removal blade and run the knife around the edge of each tile, being careful not to scratch or damage them.
Once old tiles are free of grout or new tiles are in place, vacuum between the tiles to remove excess debris and particles. Then, use a damp sponge to remove any remaining adhesive.
Tape up any areas you don’t want to be covered in grout for a cleaner finish.
Once your surfaces are prepared and the adhesive is dry, it’s time to mix the grout.
Step two: Mix the grout
Whether you use powdered or ready-mixed grout, follow the packaging instructions carefully for perfect results.
When mixing powdered grout, ensure you don’t overmix it, as this can create unwanted air bubbles. Grout starts to set after around 30 minutes, so only mix as much as you need for immediate use — mix more as and when you need it to reduce waste.
Once you’ve mixed the grout to a suitable consistency, it’s ready to be applied to the joints.
Step three: Work the grout into the joints
Load your trusty grout float with grout, scraping it from the bucket.
Grout application is most effective when done in a diagonal motion, facilitating deeper penetration of the grout into the joints. The float’s edge can remove any excess grout and then you can work it into other joints as you progress.
Continue this process until all the joints are grouted. Work steadily as your grout will harden within half an hour — focus on one wall at a time to boost efficiency.
When you’ve completed a wall, step back to assess your work before advancing to the next steps.
Step four: Use the grout finisher
Leave the grout to harden for approximately 30 minutes, then use a grout finishing tool. Glide the grout finisher across every joint, section by section, for a clean and polished result. Aim to achieve a consistent grout shape and depth across the project.
Step five: Remove excess grout
Once you’ve thoroughly worked the grout into all the joints, remove the excess with a cloth.
This step helps you assess any potential gaps and ensure all the joints are filled. Excess removal doesn’t require heavy scrubbing, and doing so may dislodge grout. If you accidentally remove some grout, quickly replenish it with your grouting tool or finger.
When you’re happy with the results of your grouting project, allow it to dry. After an hour, return to gently clean the tiles and remove the grout haze (a residual powder) using soapy water and a scourer.
Step six: Let the grout dry
The drying time varies depending on the grout used, so check the instructions for accurate guidance.
Grouting is just one of many home improvement projects you can do yourself, and it’s essential for keeping your tiles in place and providing an aesthetic finish. Our grouting guide is also suitable if you need to grout floor tiles.
Once your tiles have been grouted, they will boast excellent durability, maintaining their fresh appearance for many years.
